The Blackened Shower Joints: Understanding the Causes and Acting for a Durable Solution
Discover why shower joints become blackened and how to clean them without damaging the surfaces. Learn also to prevent their appearance thanks to good ventilation and drying practices.
Introduction
Shower joints are often victims of dirt and mold, which can lead to unpleasant black coloring. But what causes these problems? And how can we solve them without damaging the surfaces? In this article, we will explore the causes of the formation of these black spots, then present methods for cleaning them carefully and finally, give you tips to prevent their appearance.
Causes of Black Spot Formation on Shower Joints
Shower joints are areas where humidity and heat meet, creating an ideal environment for the growth of mold and bacteria. When hot water flows over the joints, it can create steam that condenses on the surfaces, thus favoring the formation of black spots. Additionally, shower joints are often made of porous materials, such as silicone or foam, which can absorb moisture and chemicals present in the water.
Dirt or Mold?
It is essential to distinguish dirt from mold. Dirt is generally caused by the presence of chemicals or particles in the water, which can deposit on the surfaces. Mold, on the other hand, is a type of fungus that develops in humid and warm environments. To determine if you are dealing with dirt or mold, examine the black spot: if it is easy to clean with water and soap, it is probably dirt. If, on the other hand, the spot is more difficult to clean and presents filaments or white spots, it is probably mold.
Cleaning Blackened Shower Joints
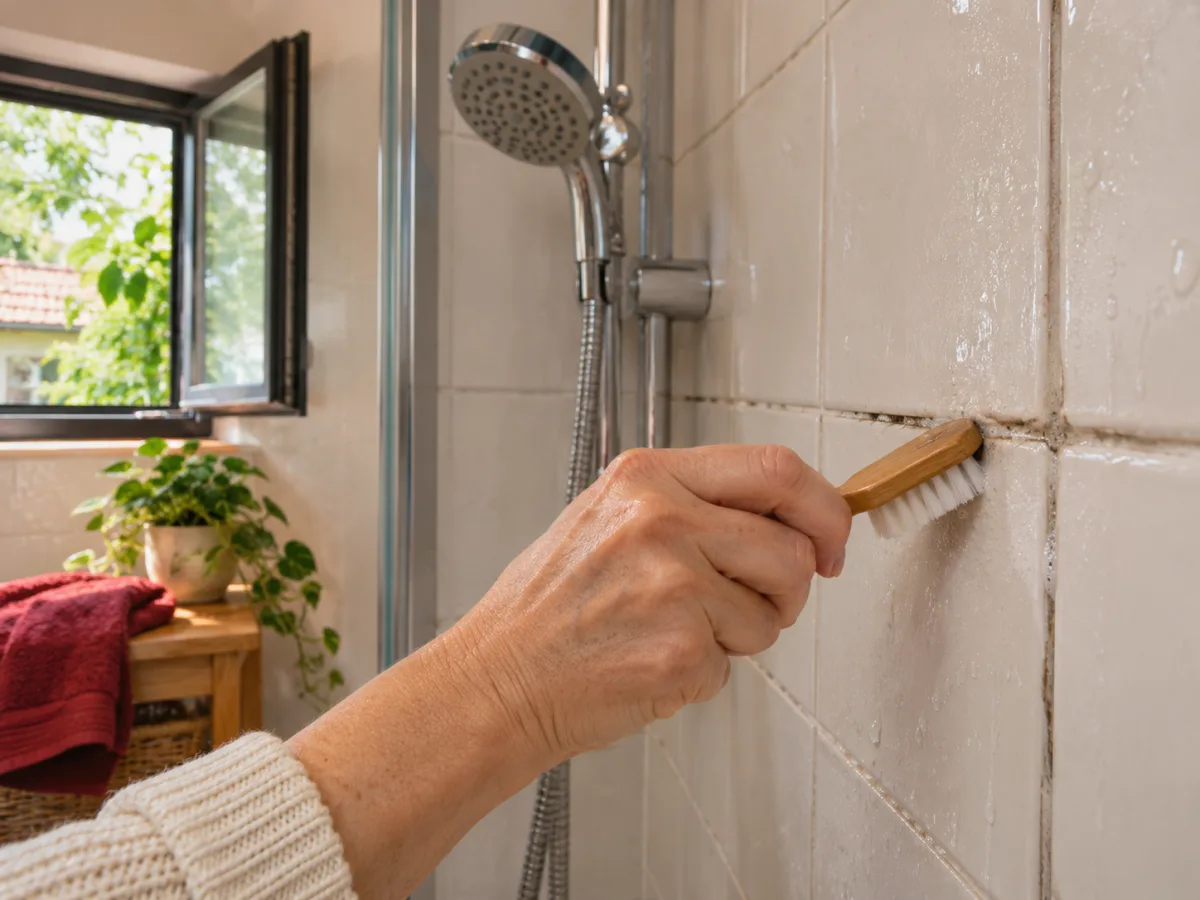
Before starting the cleaning, make sure to wear gloves and protective glasses to avoid any contact with chemicals. Here are the steps to follow to clean blackened shower joints:
- Prepare a cleaning solution by mixing 1 liter of warm water with 1 tablespoon of mild detergent.
- Soak a soft cloth in the solution and wring it out carefully to avoid putting too much water on the joints.
- Gently rub the joints with the cloth, being careful not to damage them.
- Rinse the cloth and repeat the operation until the black spots have disappeared.
- Wipe the joints with a dry cloth to dry them completely.
It is essential to note that aggressive chemicals, such as detergents or cleaning products containing abrasives, can damage the shower joints. It is also not recommended to use chlorine-based products, as they can react with the joint materials and make them more fragile.
Prevention: How to Avoid Black Spot Formation on Shower Joints
Prevention is the best way to fight against the formation of black spots on shower joints. Here are some tips to keep your shower joints clean and dry:
- Regularly check the shower joints to detect the first signs of dirt or mold.
- Wipe the shower joints after each use to dry them completely.
- Use a towel dryer or a fan to speed up the drying of the shower joints.
- Clean the shower joints regularly with a mild cleaning solution to prevent the formation of black spots.
- Control the ventilation of your bathroom to avoid condensation and steam formation.
By following these tips, you can keep your shower joints clean and dry, and avoid the formation of unpleasant black spots. Do not forget to always clean carefully and take precautions to avoid accidents and damage to the surfaces.